
Phantom Blade Zero Beginner Guide: Combat & First Upgrades
Learn Phantom Blade Zero combat: blue and red attack cues, Sha-Chi management, bell checkpoints, early skills, stealth, and the mistakes that stall new players.
Phantom Blade Zero explains its combat with a tutorial that lasts about ten minutes and then expects you to remember all of it. The result is a first boss that feels unfair until the defence clicks. This guide covers the parts the game under-explains: what the two attack colours mean, how Sha-Chi is shared, why guarding is a trap, and which early upgrades actually change a fight.
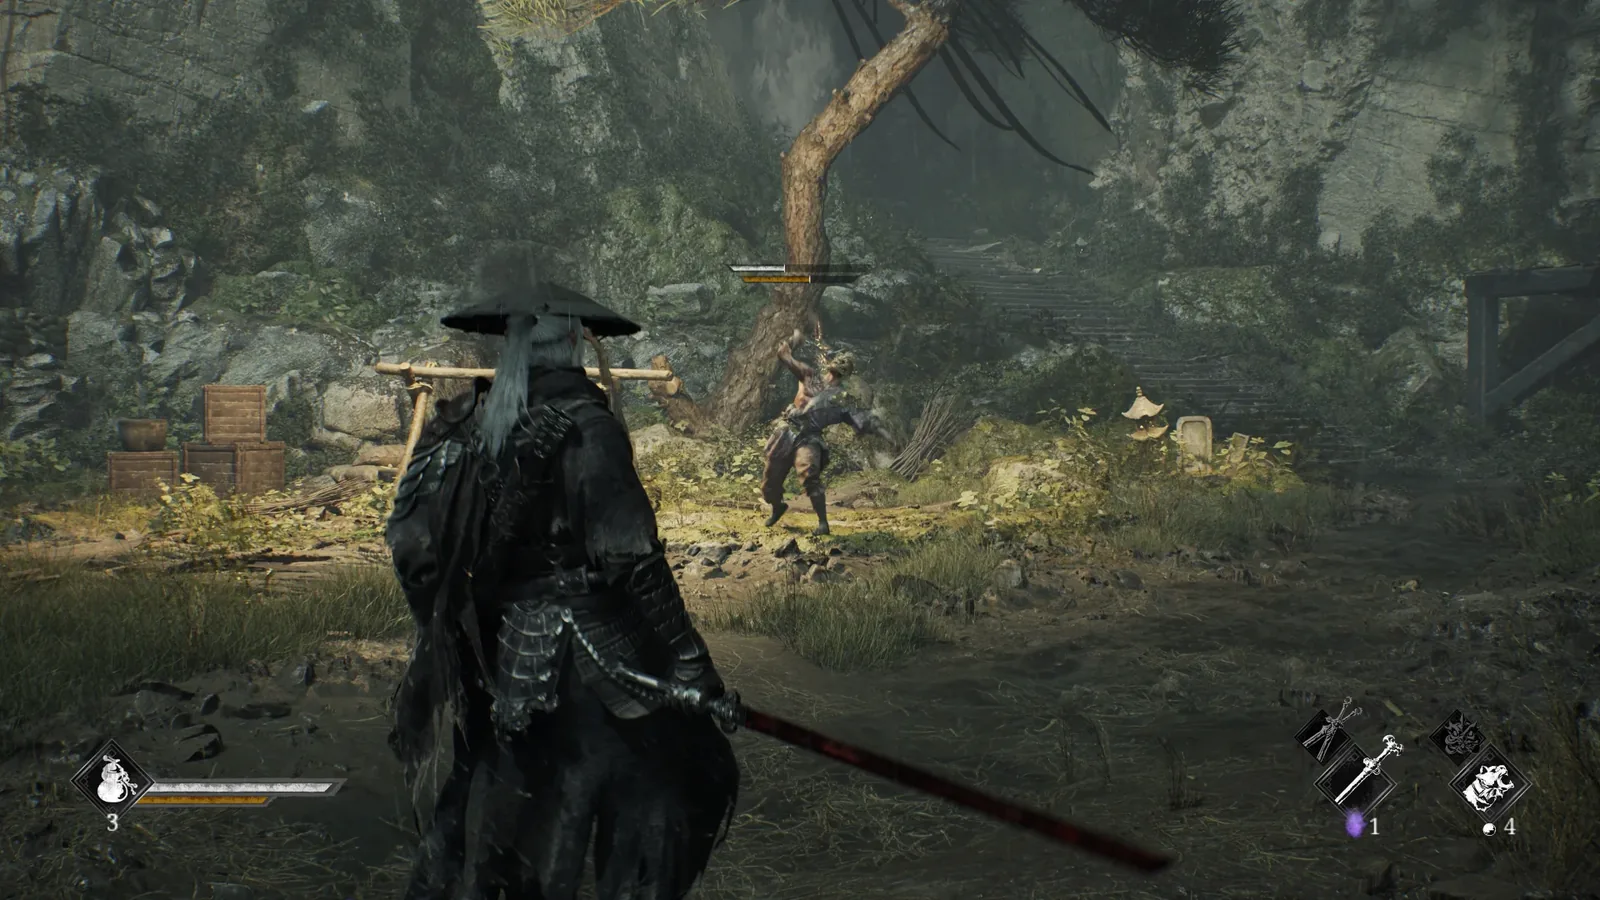
Blue means parry, red means dodge. Tap L1 into a blue flash. Press R1 away from a red flash. Everything else in combat is built on that read.
Controls you actually need
| Action | Controller | Keyboard |
|---|---|---|
| Light attack | Square | Left mouse |
| Sha-Chi attack | Triangle | Right mouse |
| Guard | Hold L1 | Hold Shift |
| Parry | Tap L1 | Tap Shift |
| Dodge | R1 | Space |
| Phantom Edge | R2 | Q |
| Power Surge | L2 | F |
| Lock on | R3 | Middle mouse |
| Medicine | D-pad | Number key |
The important distinction is that parry is a tap, not a hold. Holding L1 raises a guard that drains Sha-Chi with every blocked hit. Tapping L1 at the moment of impact is free, and it damages the enemy's Sha-Chi gauge far more than a block.
The three bars
HP
The red bar. Medicine restores a fixed chunk; bells refill both HP and medicine. There is no regenerating health in combat, so a mistake stays with you until you drink or rest.
Sha-Chi
The yellow bar under your HP. It is both an offensive and a defensive resource:
- Triangle combos spend Sha-Chi and deal heavy guard damage.
- Holding guard drains it, and each blocked hit takes more.
- Parrying spends nothing and refills pressure by emptying the enemy's gauge.
This is why new players run dry: they hold guard, lose Sha-Chi, then cannot attack. If your bar is low, stop blocking and start parrying or dodging.
Remnant Spark
The small charges beside your Phantom Edge icons. R2 spends one charge. Charges are shared between your two equipped edges and refill at bells. Do not treat them as a spammable second weapon; treat them as a cooldown you choose when to spend.
Bells are the whole loop
Bells are checkpoints, not just fast-travel points. Resting at a bell:
- restores HP and refills medicine,
- reveals nearby map detail,
- lets you train or reset abilities with Remnant Dust,
- refills Phantom Edge charges.
Because ability resets are free, there is no reason to hoard Remnant Dust. Try a node, fight three encounters, and respec if it does not change the fight. The skills guide ranks the nodes by impact.
Bells also mark the route. If you are lost, look for the next bell rather than trying to clear every path; the map fills in as you rest.
The first five upgrades
| Priority | Ability | Why it matters |
|---|---|---|
| 1 | Healing Art | One extra medicine charge is a second chance in every boss fight |
| 2 | Fluid Form | Turns a perfect dodge, parry, guard break, or kill into immediate pressure |
| 3 | Redirect Force | Parry and dodge restore Sha-Chi, fixing the "empty bar" spiral |
| 4 | Steady Composure | Makes the next light attack more likely to interrupt after a dodge or parry |
| 5 | Boundless Capacity | A second accessory slot compounds with every resistance and damage item |
Keen Edge and Fortified Body are percentage nodes. They are fine later, but they do not change how a fight plays. Buy the behaviour nodes first.
Stealth is not optional
Soul can assassinate from behind, and the game supports multi-target stealth kills when two enemies are close enough. A cleared room saves medicine and, more importantly, saves Sha-Chi for the elite at the end.
The rules are simple: crouch behind cover, approach from the side or rear, and take the kill when the indicator appears. If you are spotted, the alarm does not reset the room, but it does remove the free opening. Use stealth on the approach to every bell; it is the cheapest way to arrive at a boss with full resources.
Difficulty and retries
There are four difficulty levels: Easy, Normal, Hard, and Extremely Hard. You can change difficulty from the settings menu at any time, and boss fights on the lower settings offer mid-fight checkpoint retries. There is no achievement penalty for lowering difficulty, so use it if a boss is blocking your progress rather than quitting the game.
The game is not a Soulslike in the usual sense. Enemies do not respawn every time you rest, and the challenge is the duel read rather than a stamina bar. That makes practice more valuable than grinding levels.
Six mistakes new players make
- Holding guard instead of parrying. Guard drains Sha-Chi and teaches the wrong timing. Tap into blue.
- Dodging blue attacks. A blue flash is parryable; dodging it wastes the biggest Sha-Chi swing in the fight.
- Attacking a red flash. Red is unblockable. R1, then punish the recovery.
- Spending all Sha-Chi on Triangle. Keep enough to guard or parry the next exchange.
- Ignoring the weapon swap. Swapping performs an automatic quick attack and each weapon has its own stamina bar, so a swap is a free tempo reset, not a menu action.
- Skipping optional scarecrows. Four Acolyte fights are required for the perfect ending, and each drops an elemental mask. Miss them and the best ending is locked.
What to do after the first bell
- Spend Remnant Dust on Healing Art and one combat node.
- Upgrade Wooden Sanguine to level 5 for Back to Basics; the parry will drain more Sha-Chi.
- Practice the Perfect Combo: after a Square or Triangle attack, the blade glows. Press the matching input on the glow.
- Walk the side paths before the main gate. Optional levels contain weapons, Phantom Edges, and the Acolyte scarecrows.
- Read the boss order so you know which fights are mandatory and which are hidden.
FAQ
How do you parry in Phantom Blade Zero?
Tap L1 as the attack lands. A blue flash is the parry cue. Holding L1 guards instead, which drains Sha-Chi.
What does the red flash mean?
It is an unblockable attack. Dodge with R1; do not try to parry or block it.
Can I respec abilities?
Yes. Rest at any bell and reset your abilities; Remnant Dust is refunded.
Is Phantom Blade Zero harder than a Souls game?
It is more forgiving in structure: enemies do not respawn on rest, difficulty is adjustable, and boss checkpoints exist on lower settings. The parry timing is tighter than most action RPGs, which is where the difficulty comes from.
How long is the tutorial?
The prologue runs roughly 20–30 minutes, including the first two boss encounters. It ends when the story moves to the carriage section.
Where to go next
Sources and further reading
Official reference: Phantom Blade Zero — S-GAME's official game site.
More Phantom Blade Zero Guides
Beat Zuo Shang in the Phantom Blade Zero prologue: read the blue and red flashes, punish both phases, and learn the parry timing that carries forward.
A practical Phantom Blade Zero parry guide: the exact blue-flash timing, why parries fail, how red attacks differ, and how to turn a guard break into damage.
All Phantom Blade Zero abilities explained: the strongest early skills, how Sha-Chi and Remnant Spark passives work, and the best order to spend Remnant Dust.
Three Phantom Blade Zero builds that work: a parry counter setup, a guard-break bruiser, and a Phantom Edge summoner, with weapons, skills, and fight plans.
The best weapons in Phantom Blade Zero by role: early picks, boss drops, parry blades, guard breakers, and the upgrade order that gets the most from each class.
Every Phantom Blade Zero boss in story order, grouped by region, with rewards, ending requirements, and links to full attack-by-attack strategies.
How Phantom Blade Zero's endings work, the perfect ending checklist, the four Acolyte masks, Crystal Puppet Eyes, Long Pillars, and the point of no return.
Every Phantom Blade Zero region in order, what each map hides, how bell checkpoints and fast travel work, and the optional areas that gate the perfect ending.